Two years ago I added a SSD drive to my office MacPro. At that time I found a very useful blog post showing how to do it. I’ve just acquired another SSD drive and can no longer find the blog post. So, I’m posting what I did just to help anyone else out there who can’t find the original post about adding a 2.5 inch SSD drive to a MacPro 1,1 drive drawer/tray/sled without using an adaptor.
Things you’ll need:
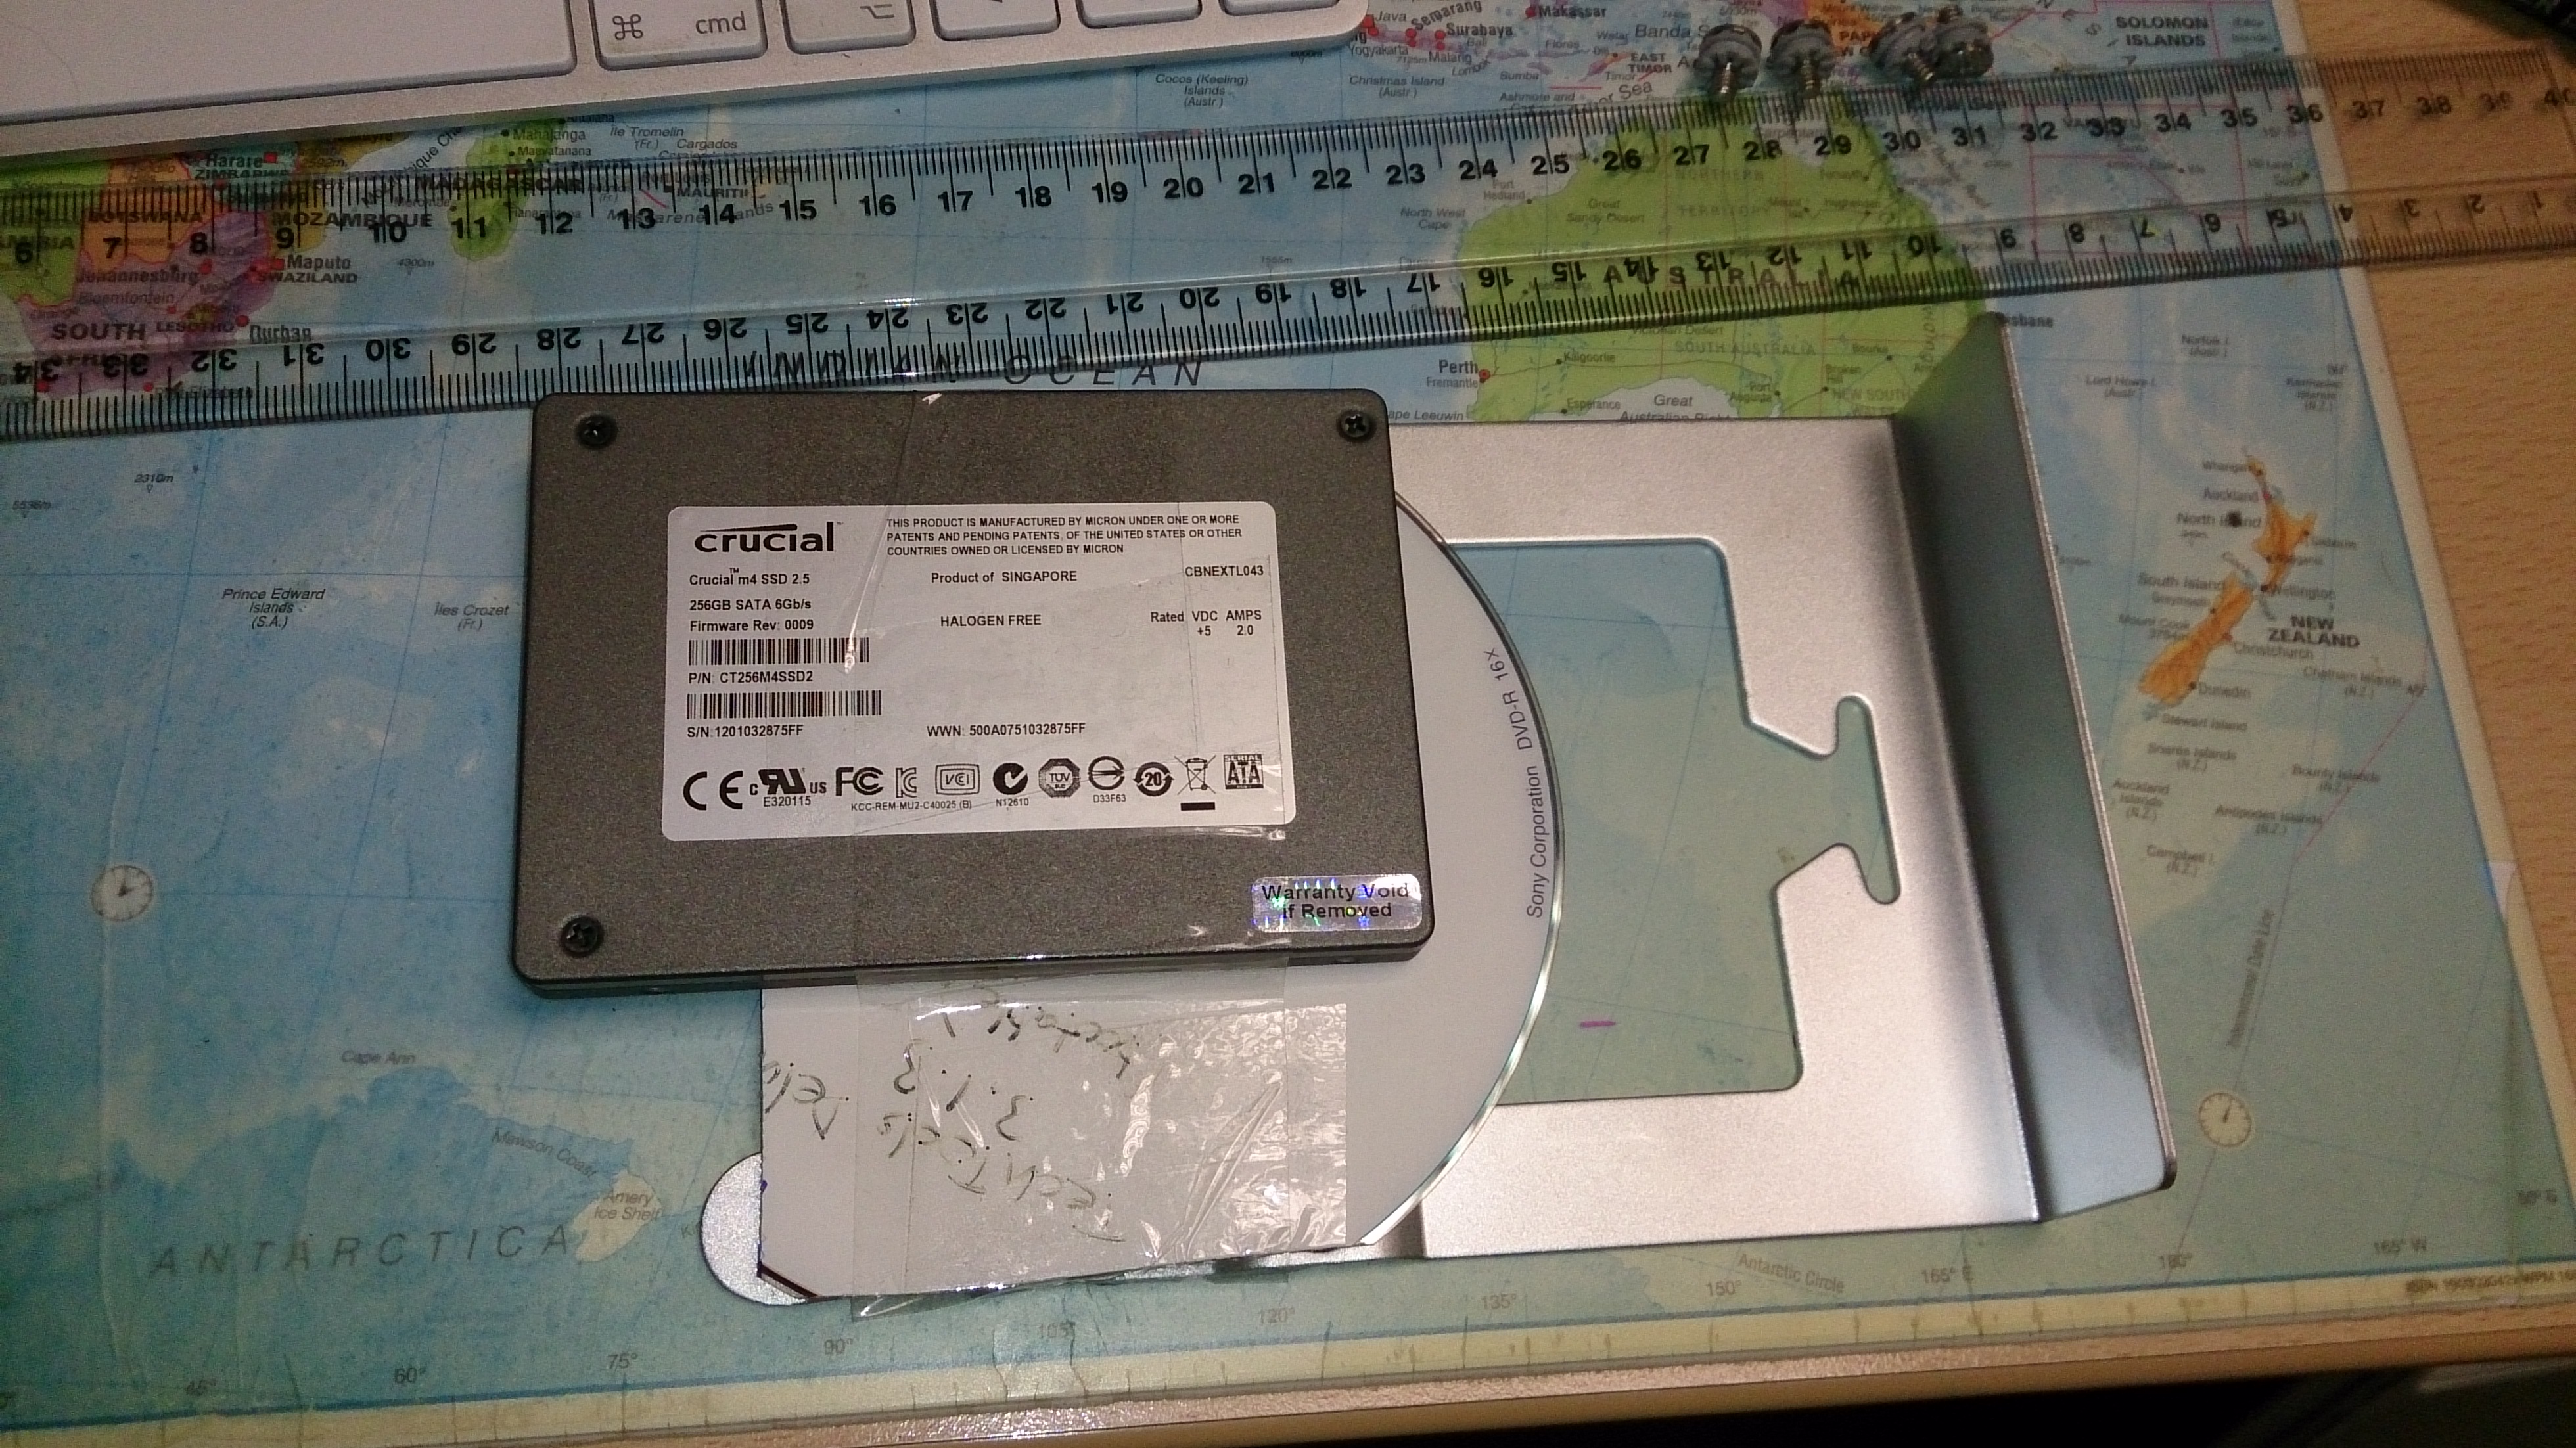
- 2.5 inch SSD
- CD/DVD
- A drive tray/drawer/sled.
- Tape
- Scissors
- Pen

Place the sled on top of the CD/DVD and draw along the edges with a pen
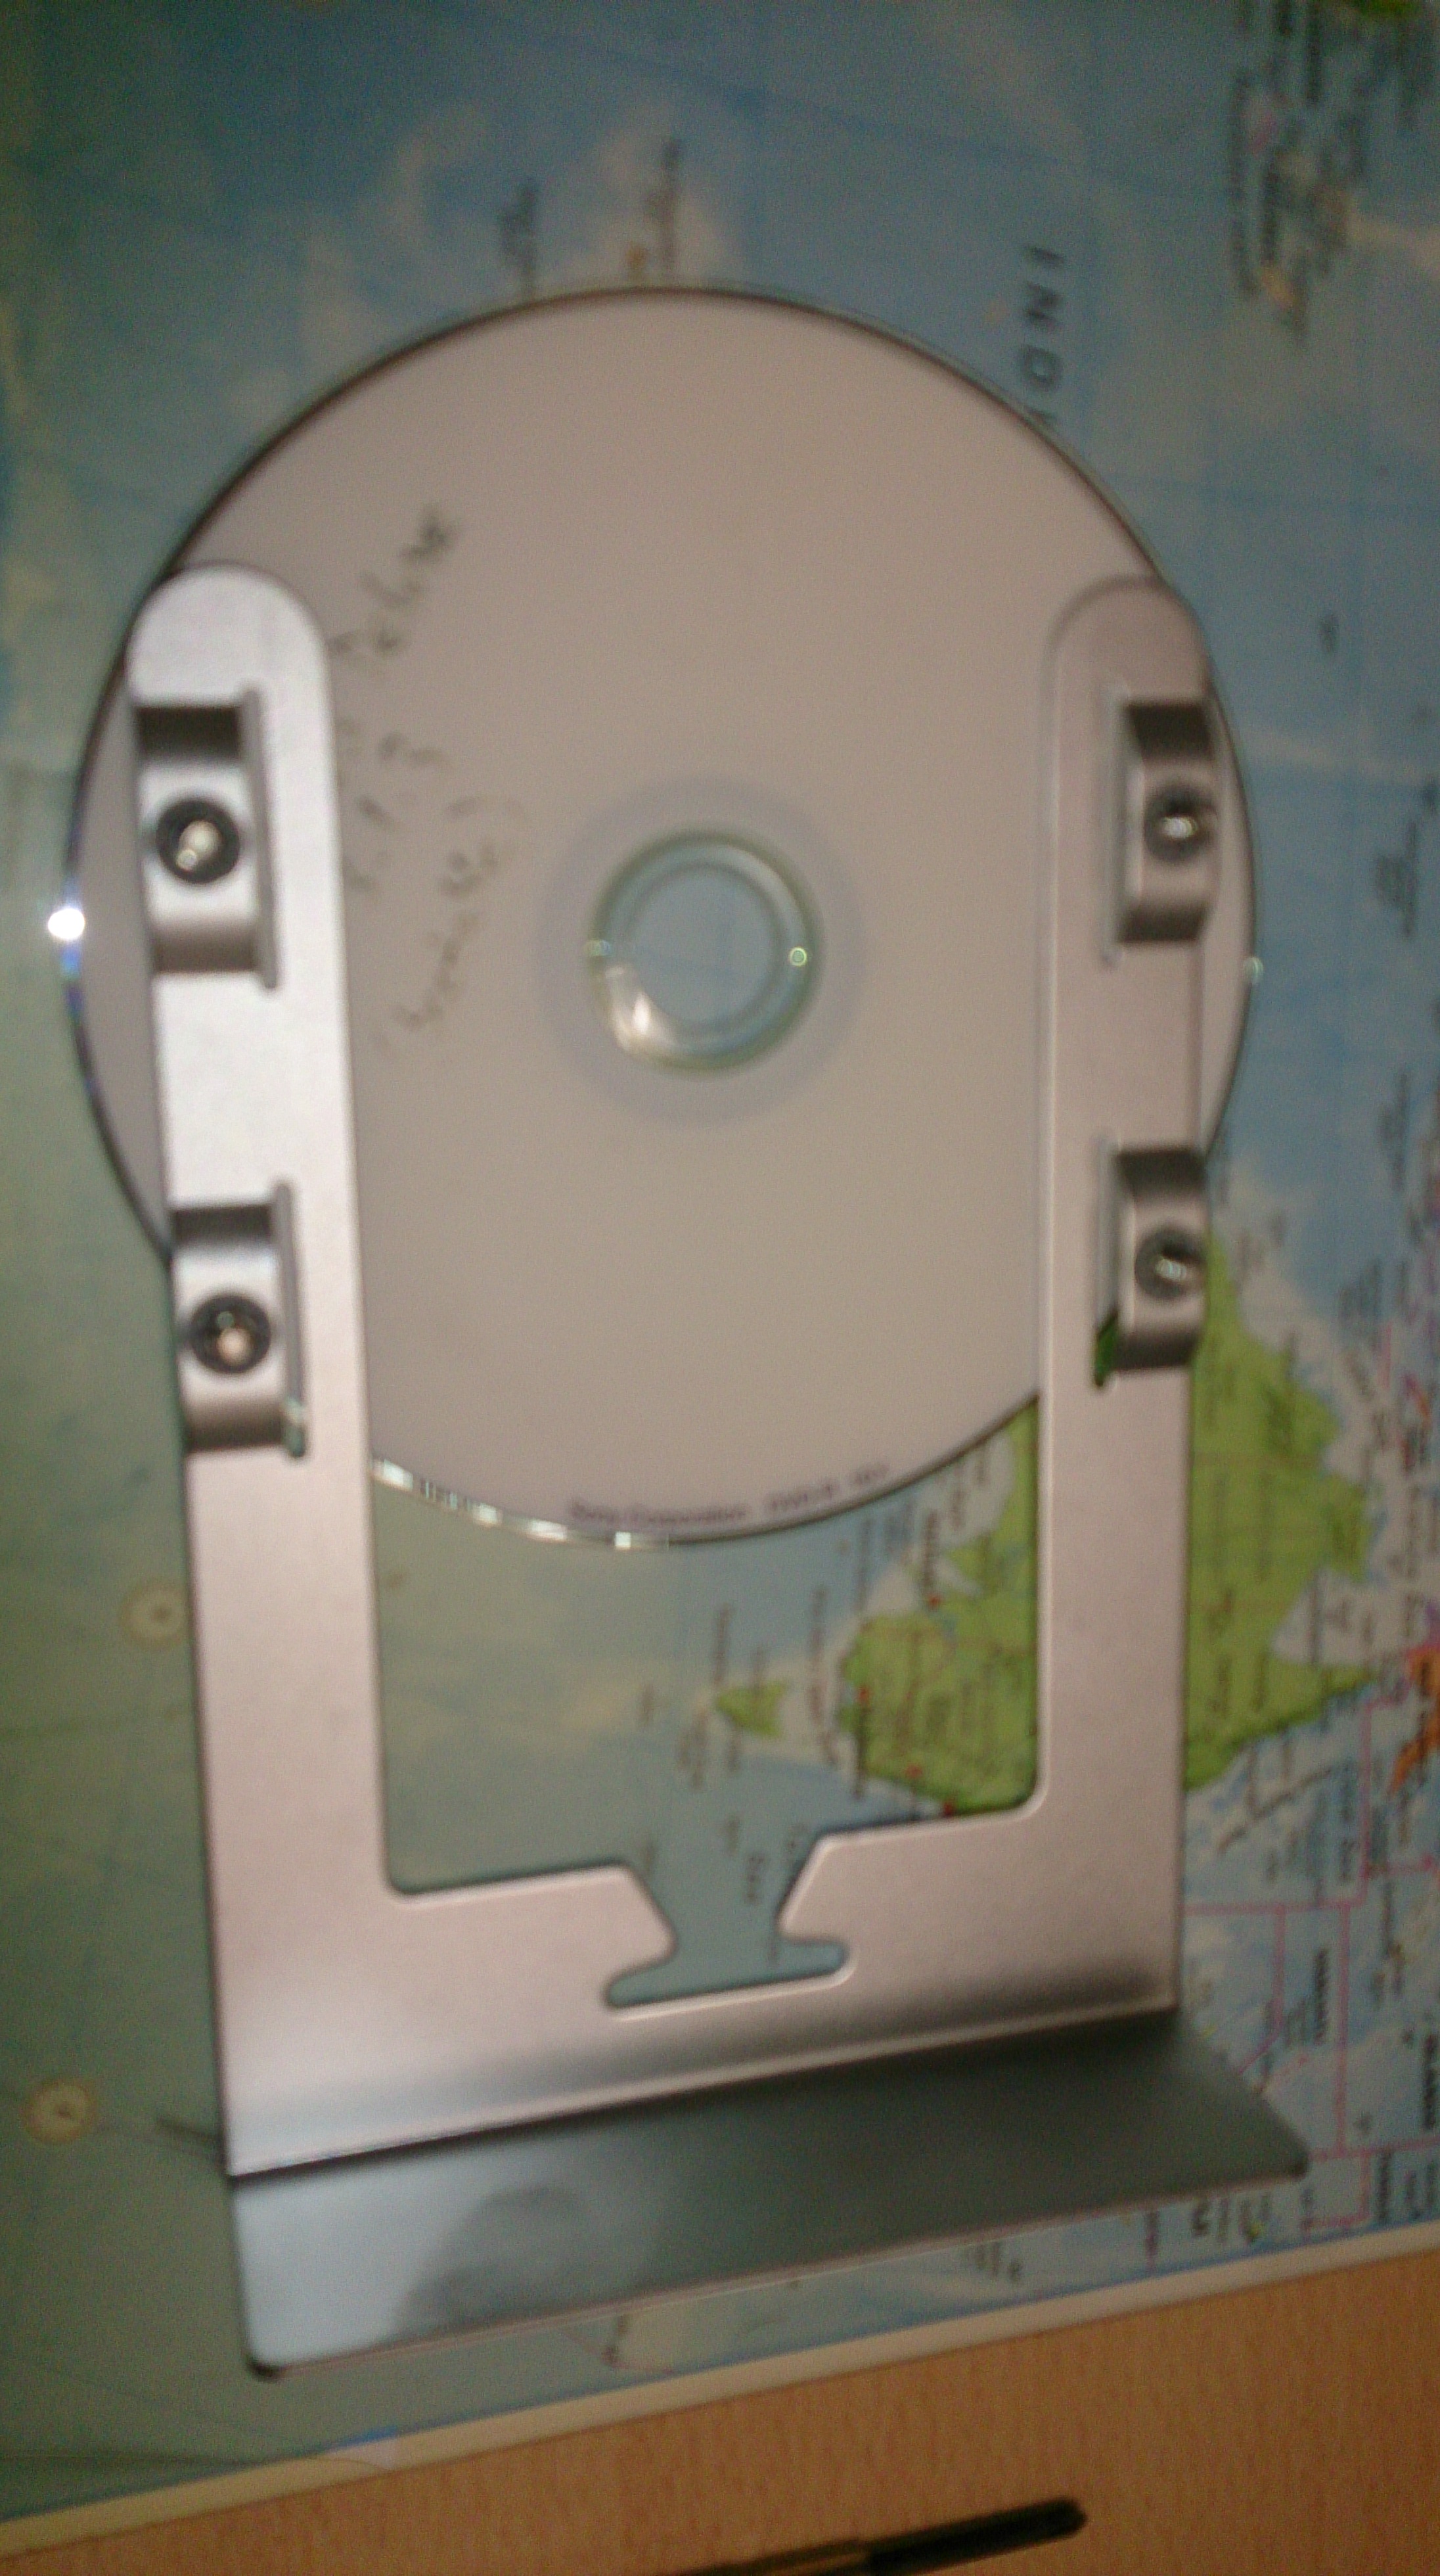
You will have something like this.

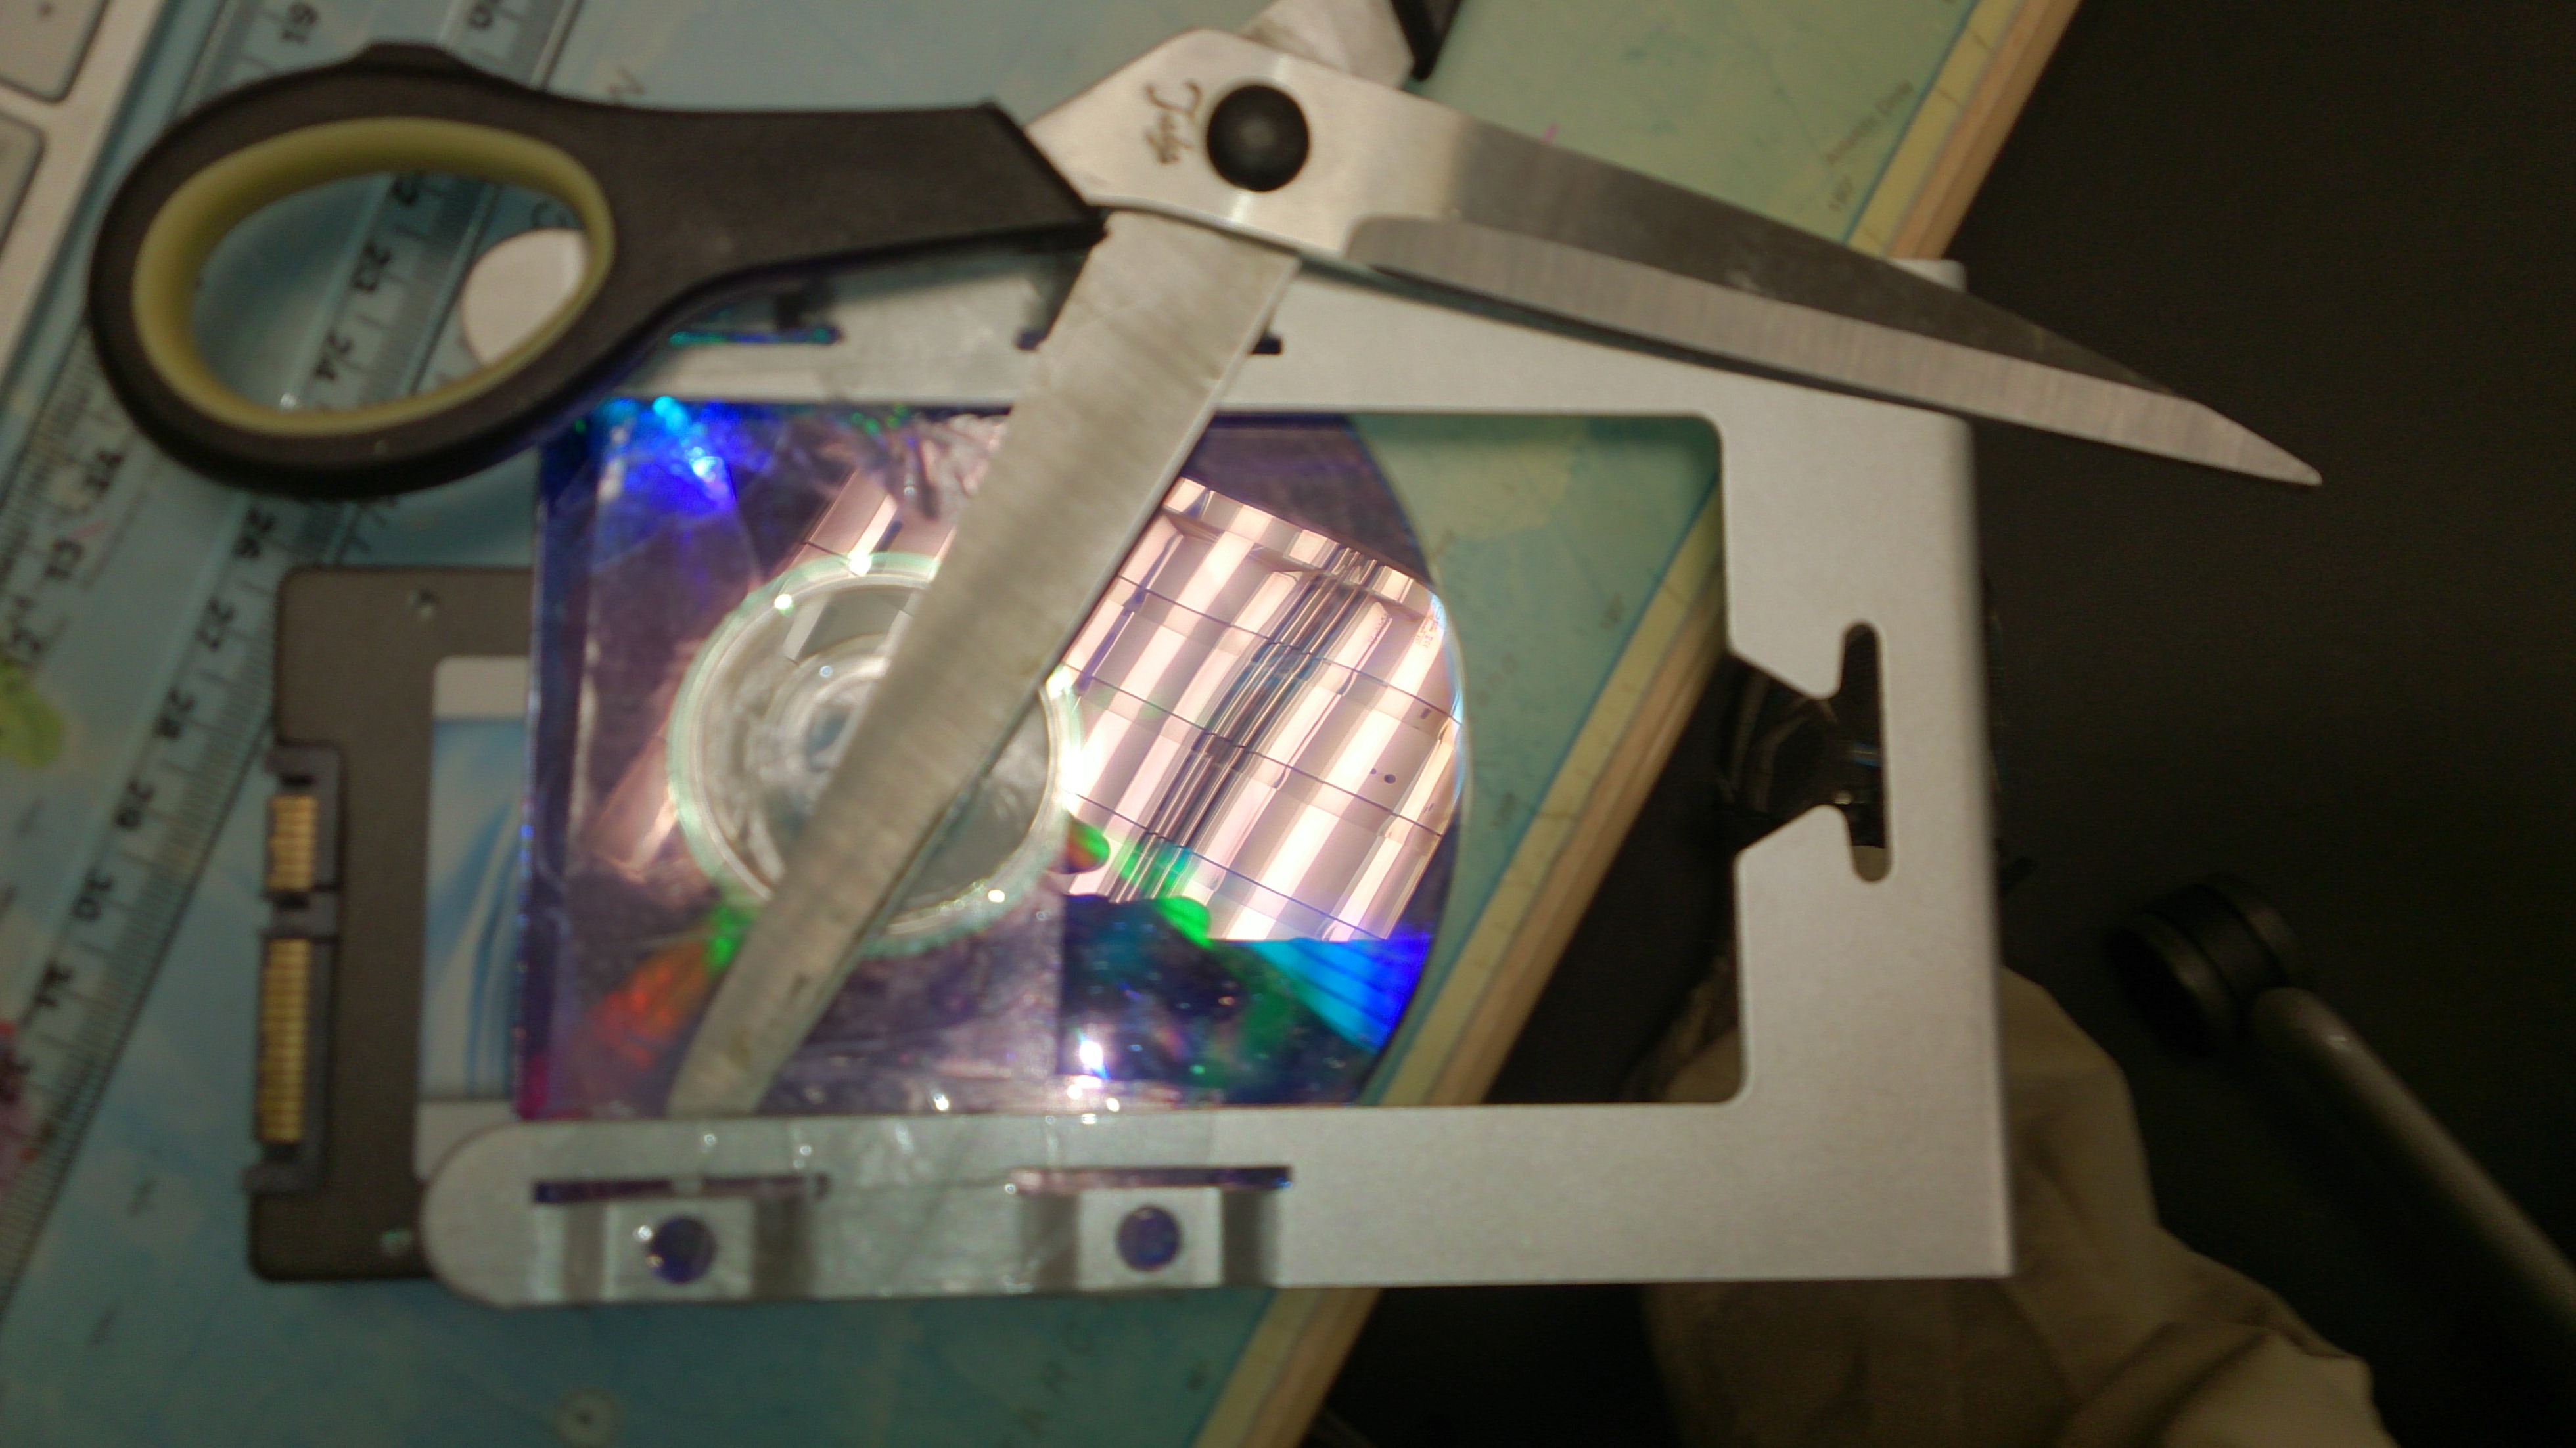
Cut off the sides of the CD/DVD with the scissors.

Tape the CD to the sled and then tape the SSD on top of that. There needs to be about a 20mm overhang, and also the SSD needs to be 2mm in from the edge.
With the scissors cut through any tape that is overhanging underneath. This will allow the sled to side back in to the Mac.
Slide the sled back in and the SATA connector should all line up.
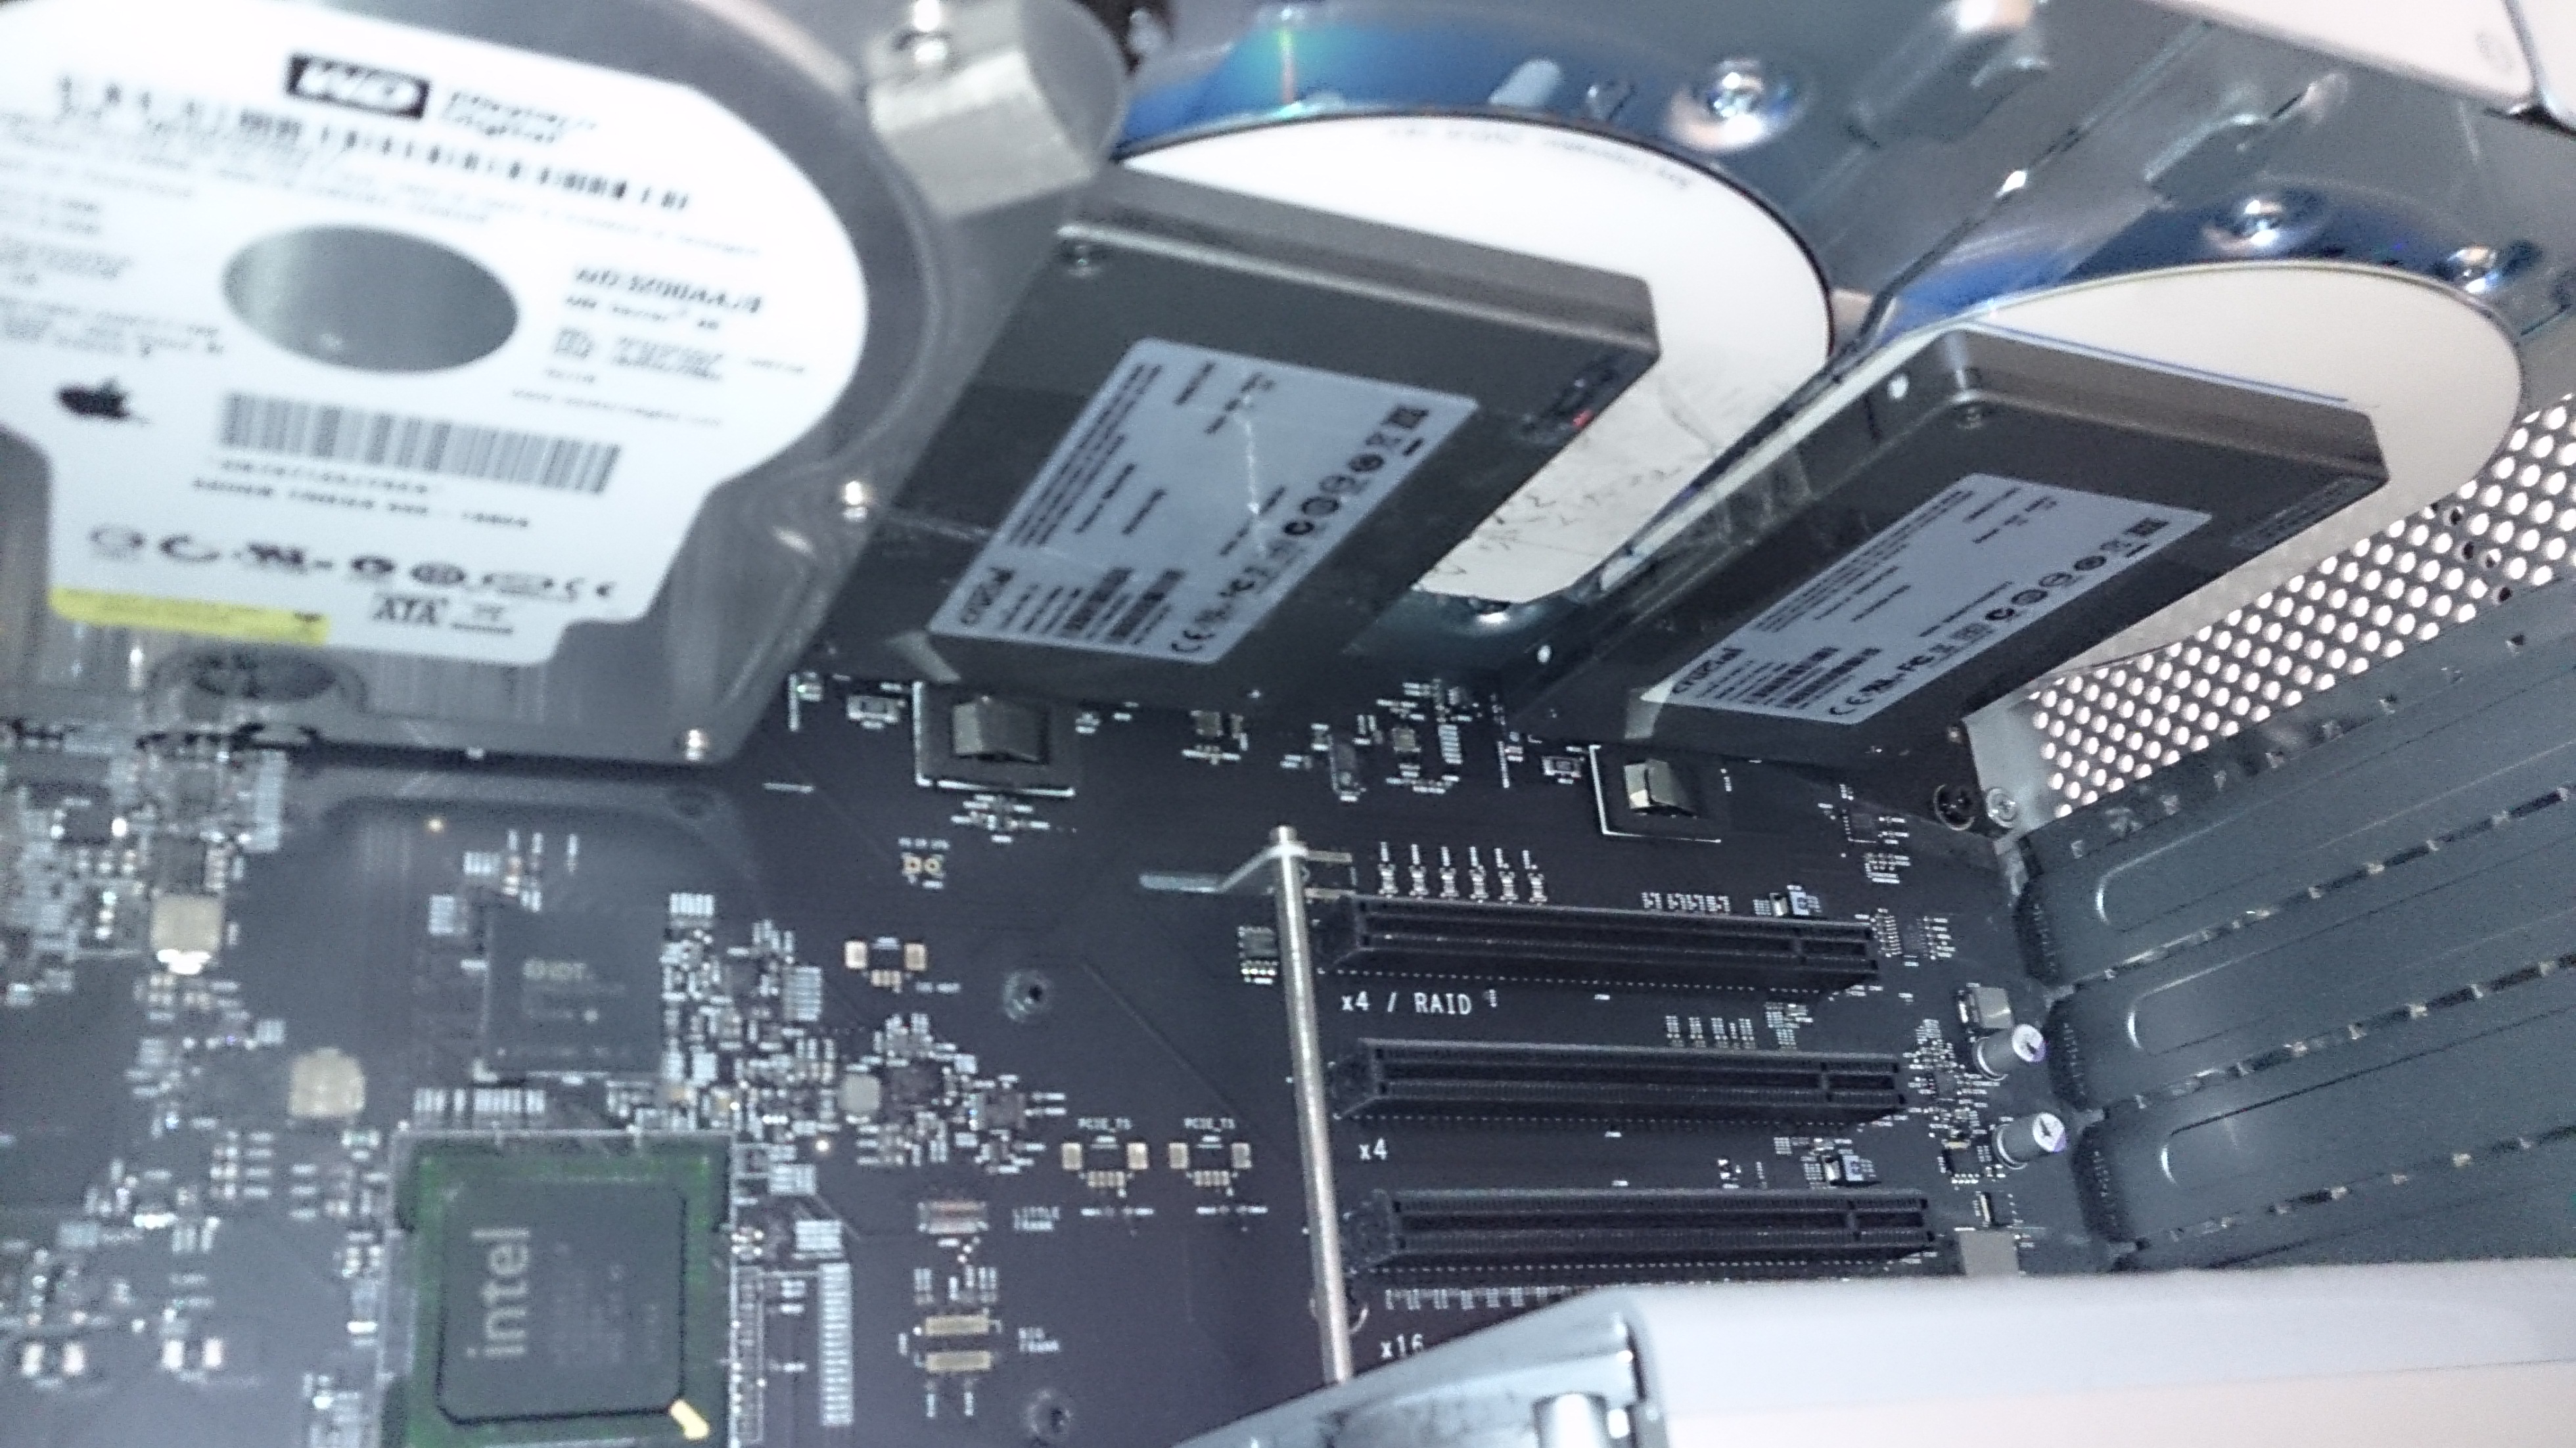
Job done.